


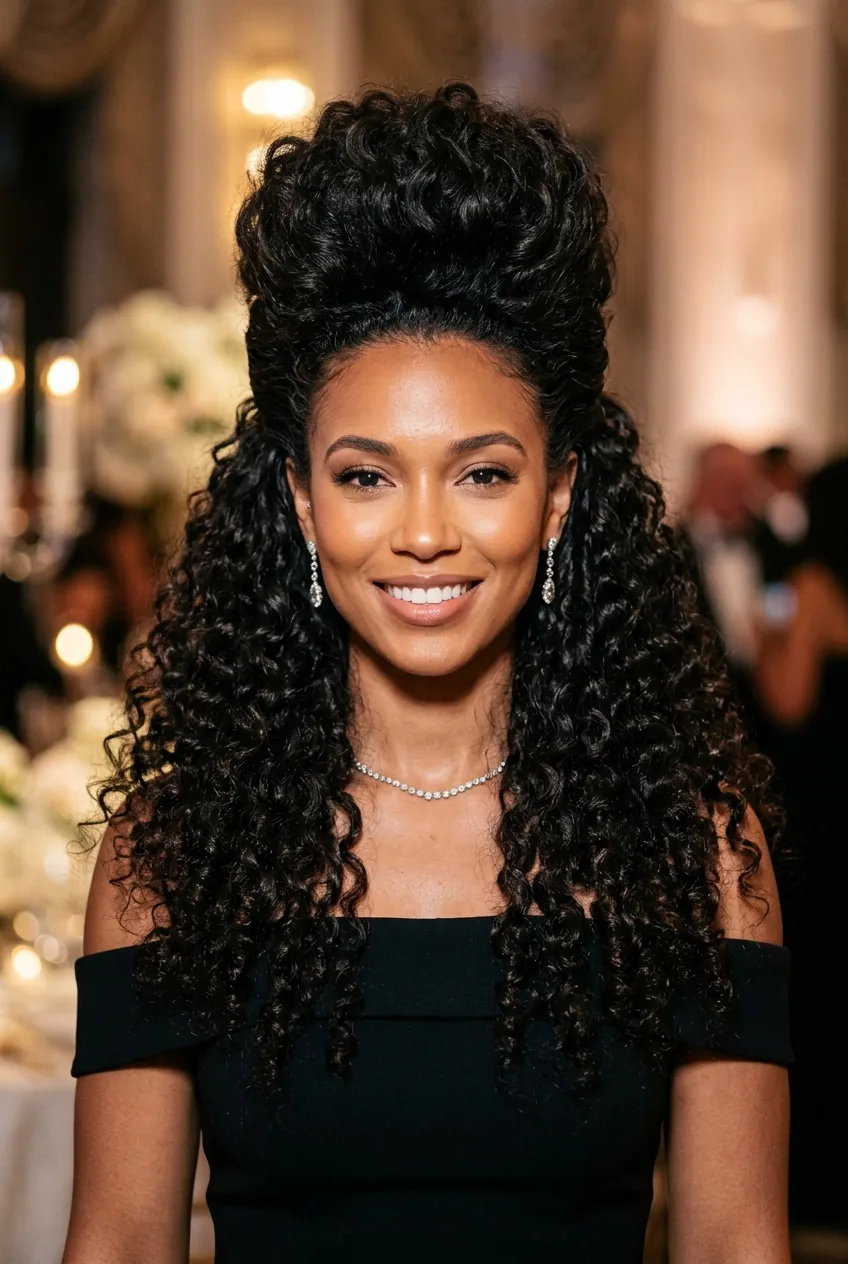
I used to be that wedding guest whose hair fell apart before the ceremony even ended. You know the feeling — you spend an hour perfecting your curly updo only to catch yourself in the bathroom mirror two hours later looking like you’ve been through a wind tunnel. After my sister’s eight-hour wedding celebration last summer (where my hair actually stayed put!), I finally figured out what I was doing wrong.
What You’ll Need (My Go-To Kit)
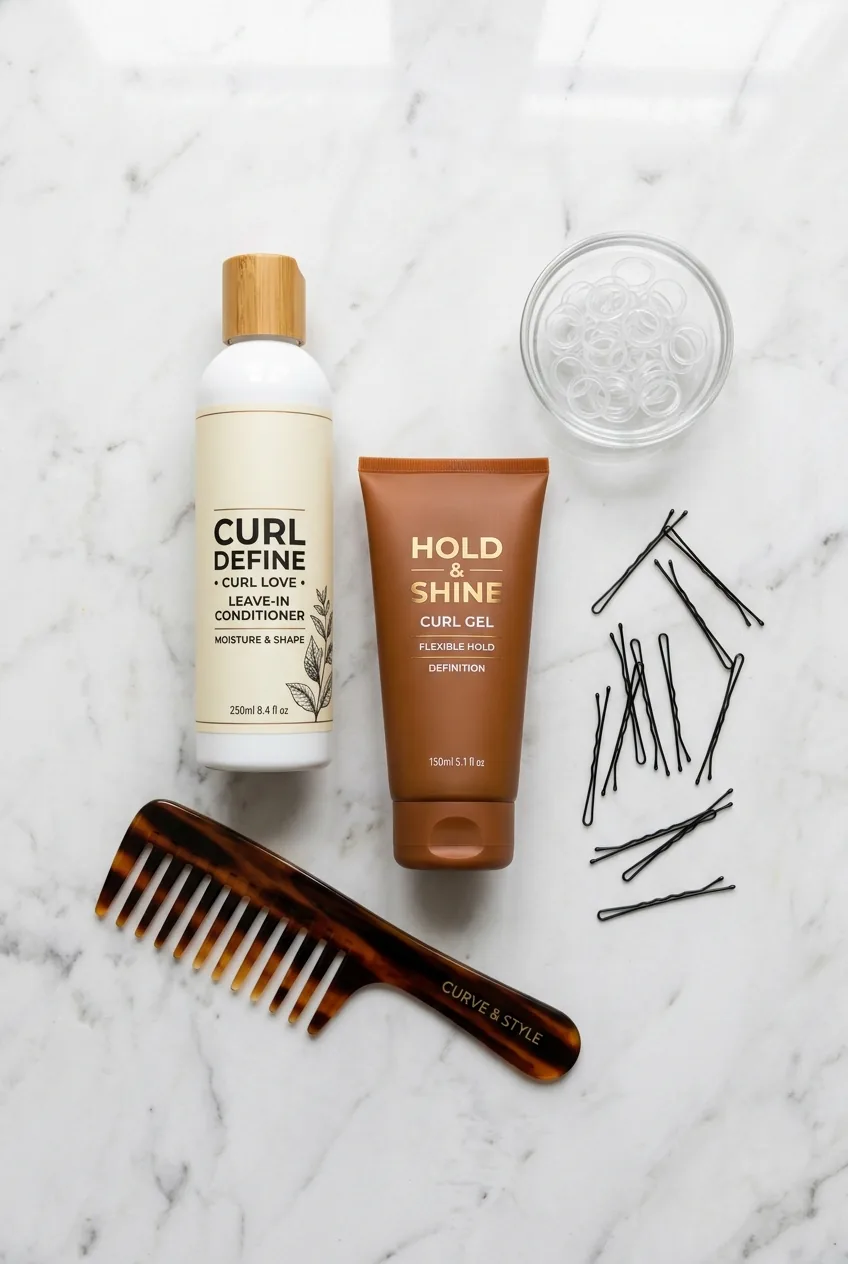
Here’s what I always pack in my wedding hair emergency bag. Trust me, half of these saved my bacon at some point:
- Leave-in conditioner (the curl-enhancing kind)
- Strong-hold gel or mousse
- At least 20 bobby pins (seriously, you’ll lose half of them)
- Clear elastic hair ties
- A wide-tooth comb
- Hair oil or serum for shine
- Hairspray — the good stuff, not drugstore
- A small handheld mirror for checking the back
- Hair accessories if your look calls for them
Pro tip: I learned this the hard way, but always bring backup bobby pins. They have a mysterious way of vanishing right when you need them most.
Step 1: Prep Your Curls First
This is where most people mess up. You can’t just throw curly hair into an updo and expect it to behave. I start with slightly damp hair — not soaking, but not completely dry either.
Work your leave-in conditioner through every section, then add your gel or mousse. The key is even distribution. I scrunch as I go, encouraging those natural curl patterns.
Let your hair air dry about 80% of the way before you start styling. This gives you the perfect texture — defined curls that still have some flexibility to work with.
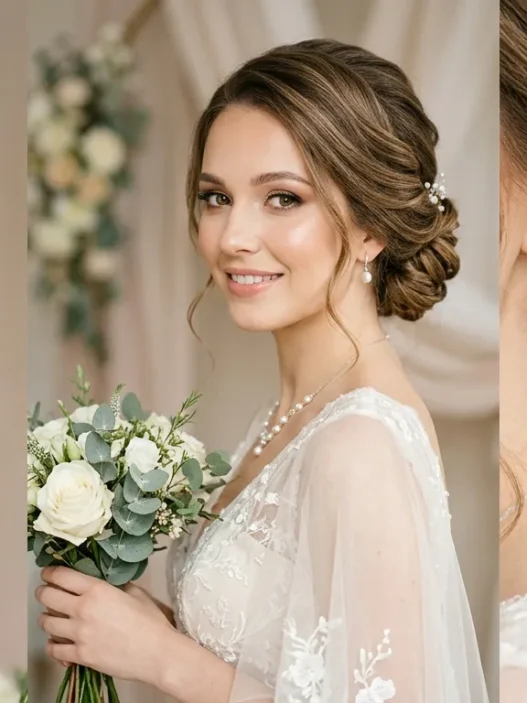
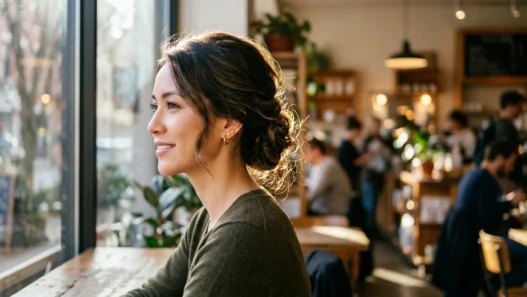
Step 2: The Classic Side-Swept Low Bun
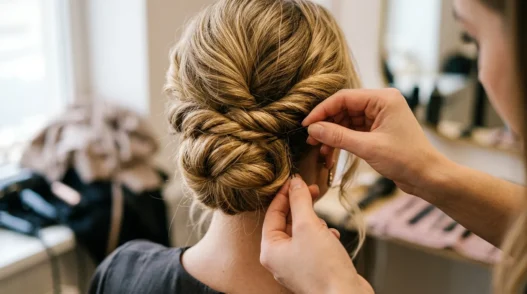
This one’s my reliable go-to. I sweep all my curls to one side, leaving some face-framing pieces loose on purpose. The trick is creating volume at the crown before you secure everything at the nape.
Gather your hair loosely with your hands — don’t brush it out or you’ll kill the curl definition. Twist the length gently and coil it into a low bun, leaving the ends deliberately messy and textured.
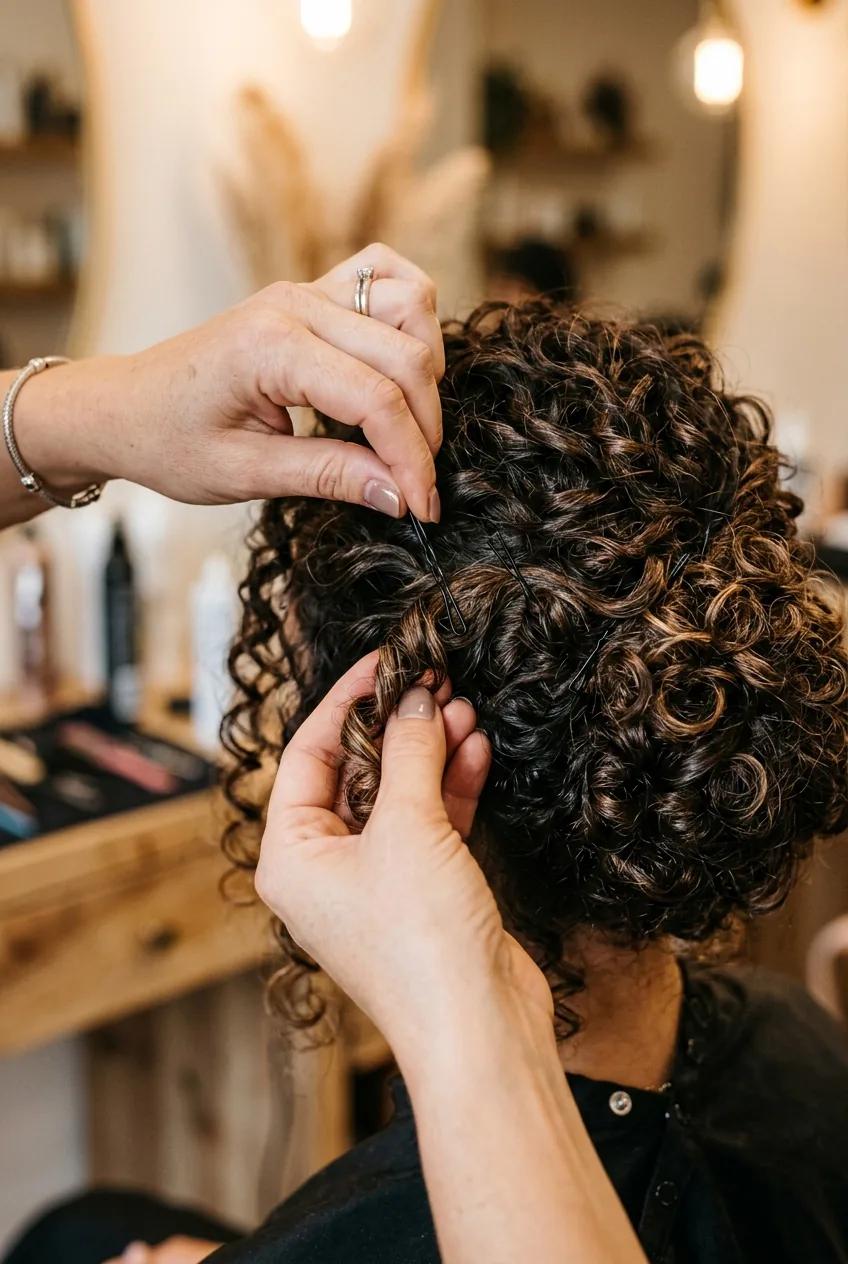
Pin strategically around the base, not through the curls themselves. I usually need about 6-8 bobby pins for this to feel secure.
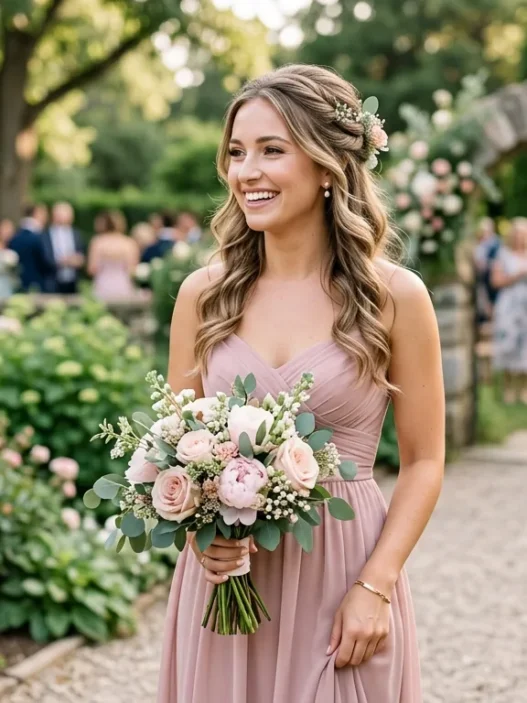
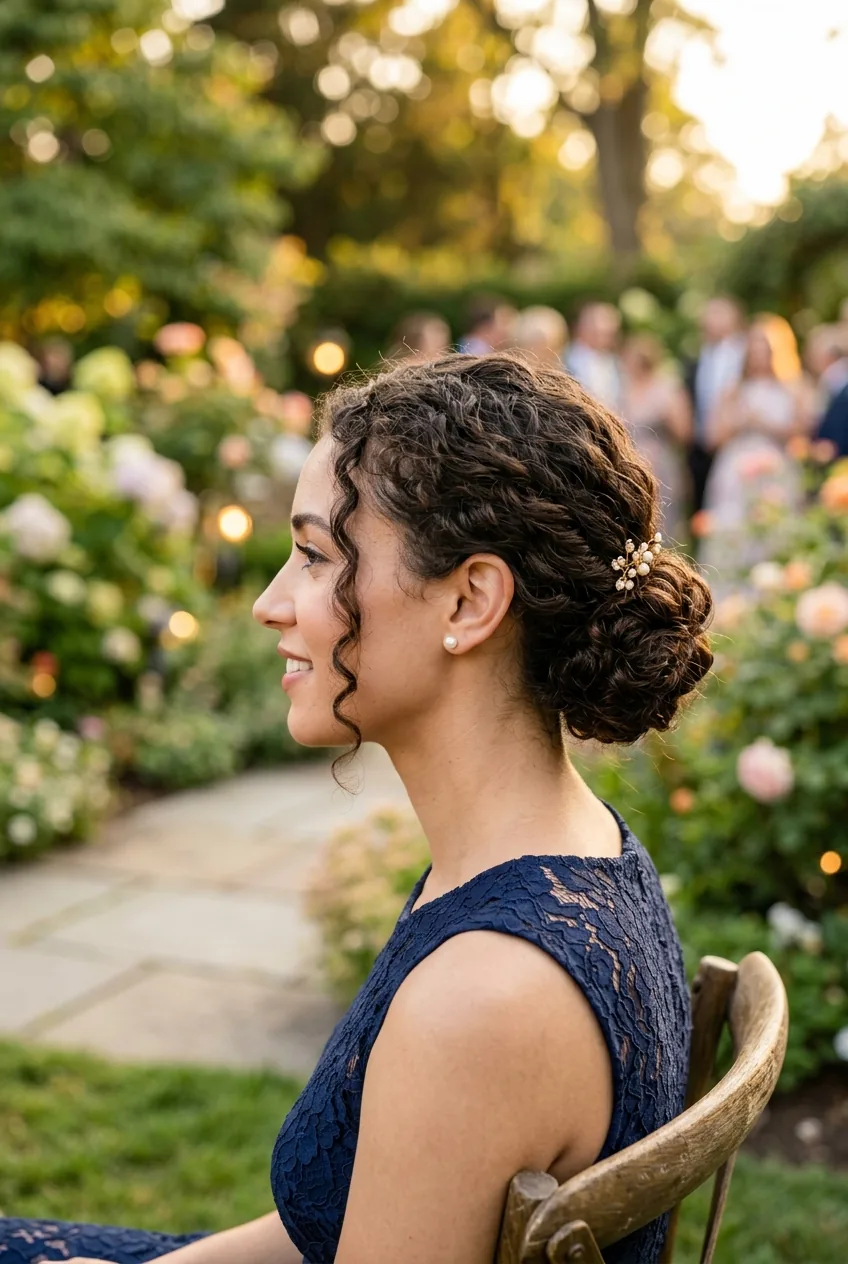
Step 3: Twisted Crown Updo
This one makes me feel like a Greek goddess every time. Start by sectioning off the front pieces from ear to ear. Twist these sections back on both sides, securing them temporarily with clips.
The back section gets gathered into a low ponytail first, then twisted up into a bun. Once that’s secure, release your front twists and wrap them around the base of the bun, pinning as you go.
Mistake I made: I used to twist these sections too tightly, which flattened out my natural curl texture. Keep the twists loose and let some curls escape naturally — it looks more romantic and forgiving.
Watch This Technique in Action
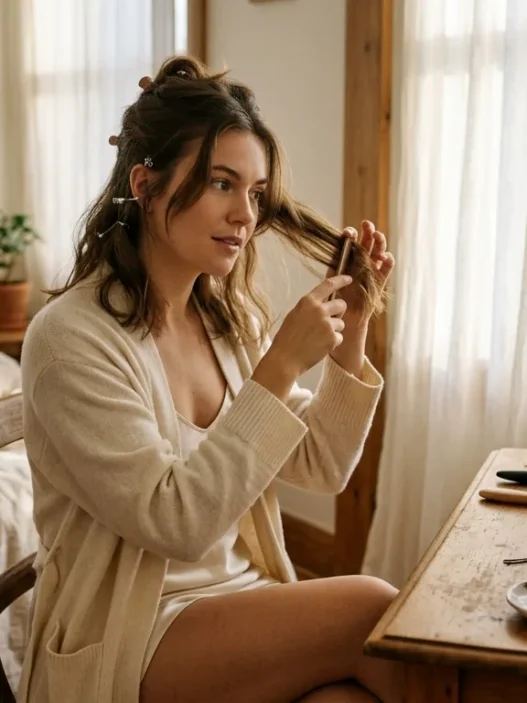
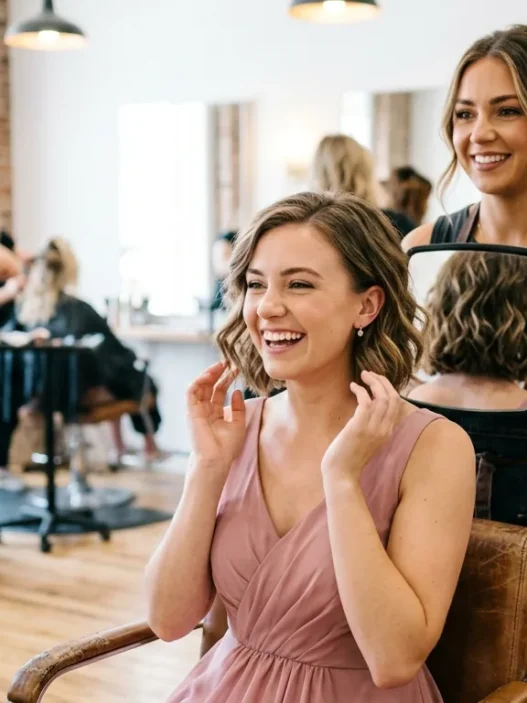
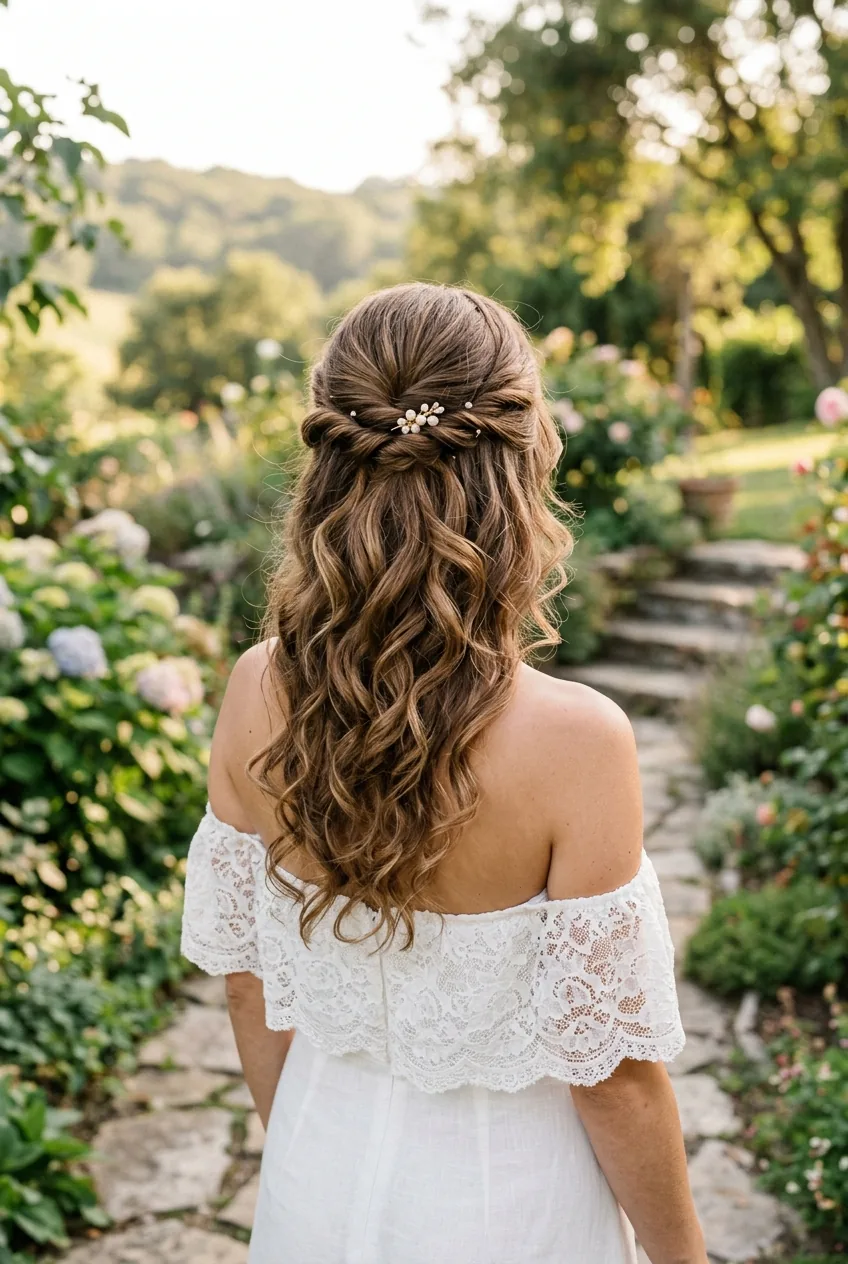
Step 4: The Half-Up Romantic Twist
Perfect for when you want to show off your curl length but still look polished. I section off the top half of my hair — from my temples back to the crown area.
Instead of a regular ponytail, I create a loose twist with this section, securing it with bobby pins about halfway back on my head. The bottom half stays completely loose and curly.
The magic happens when you gently tug at the twisted section to create volume and texture. Don’t be afraid to let some shorter pieces fall out naturally — that’s the whole point of the “romantic” look.
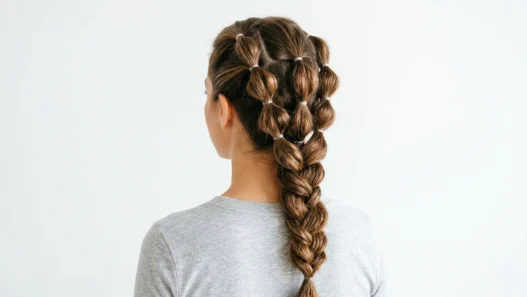
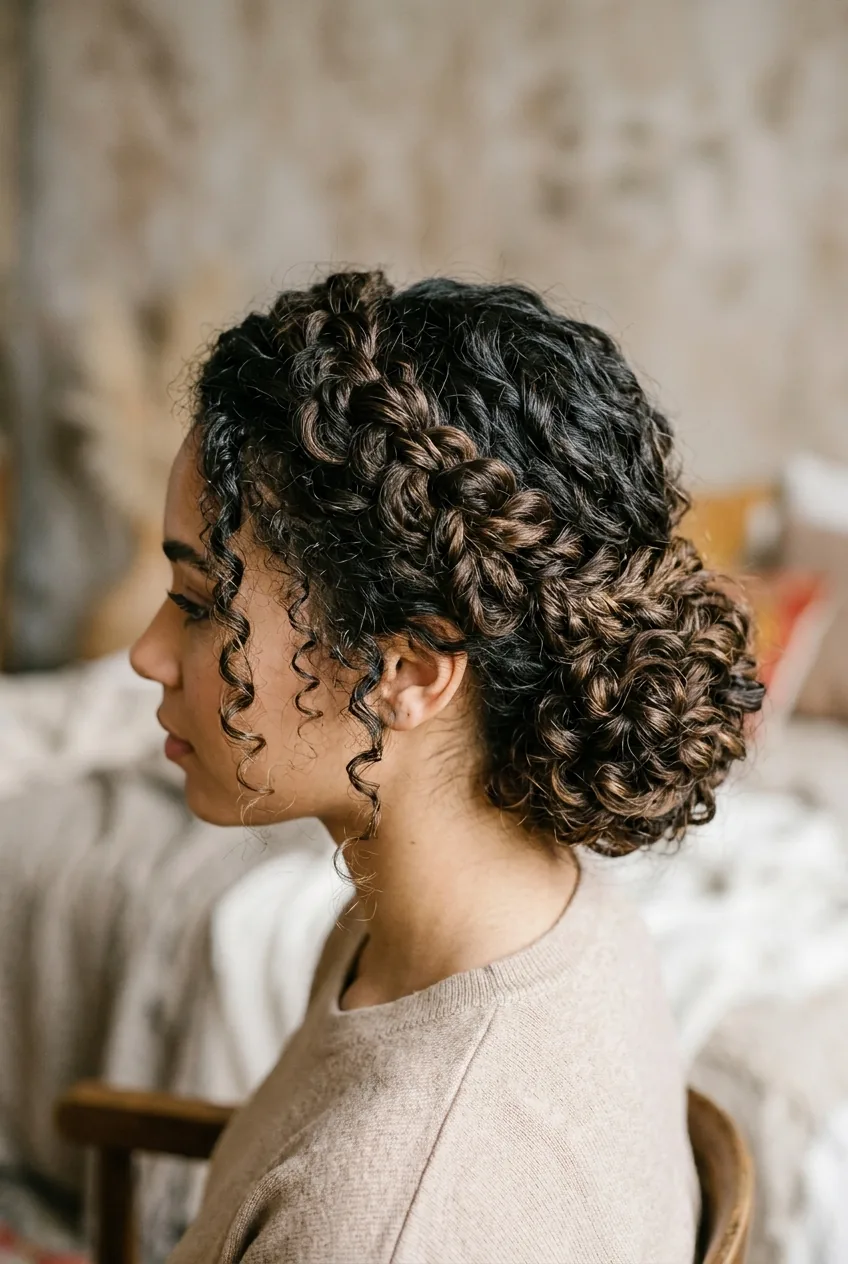
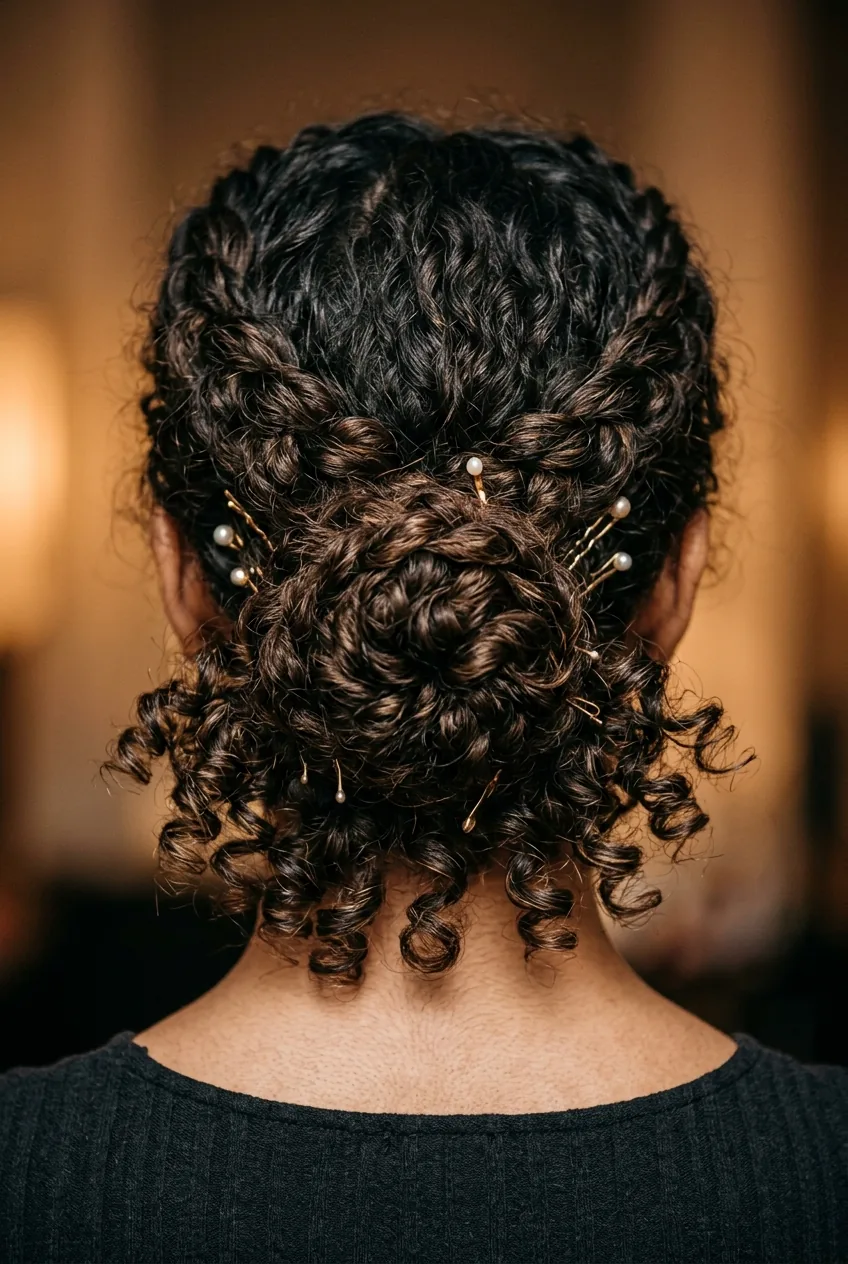
Step 5: Braided Curly Chignon
This combines the best of both worlds — braids and updos. I start with a loose side braid, but here’s the trick: I only braid about halfway down, leaving the ends loose and curly.
Coil the entire braid (including those loose ends) into a low chignon at the nape of your neck. The contrast between the braided structure and loose curly ends creates this amazing textural interest.
Pin the braid base securely, then arrange the loose curly ends around it. Some of these elegant curly updos inspired this technique, and it’s become one of my favorites for formal events.
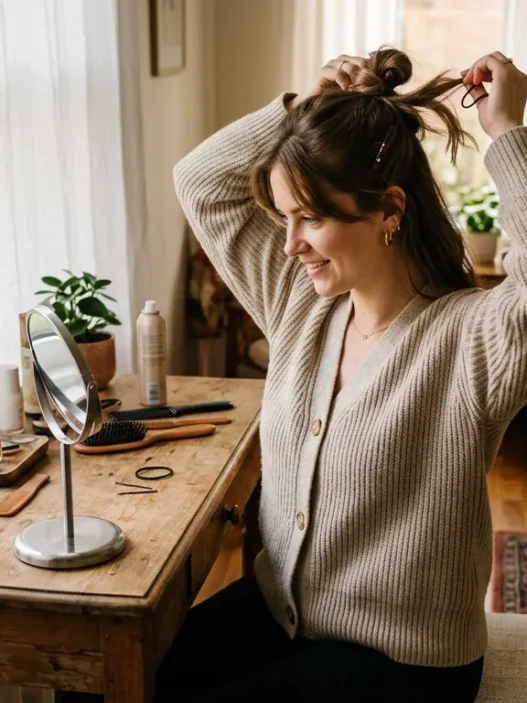
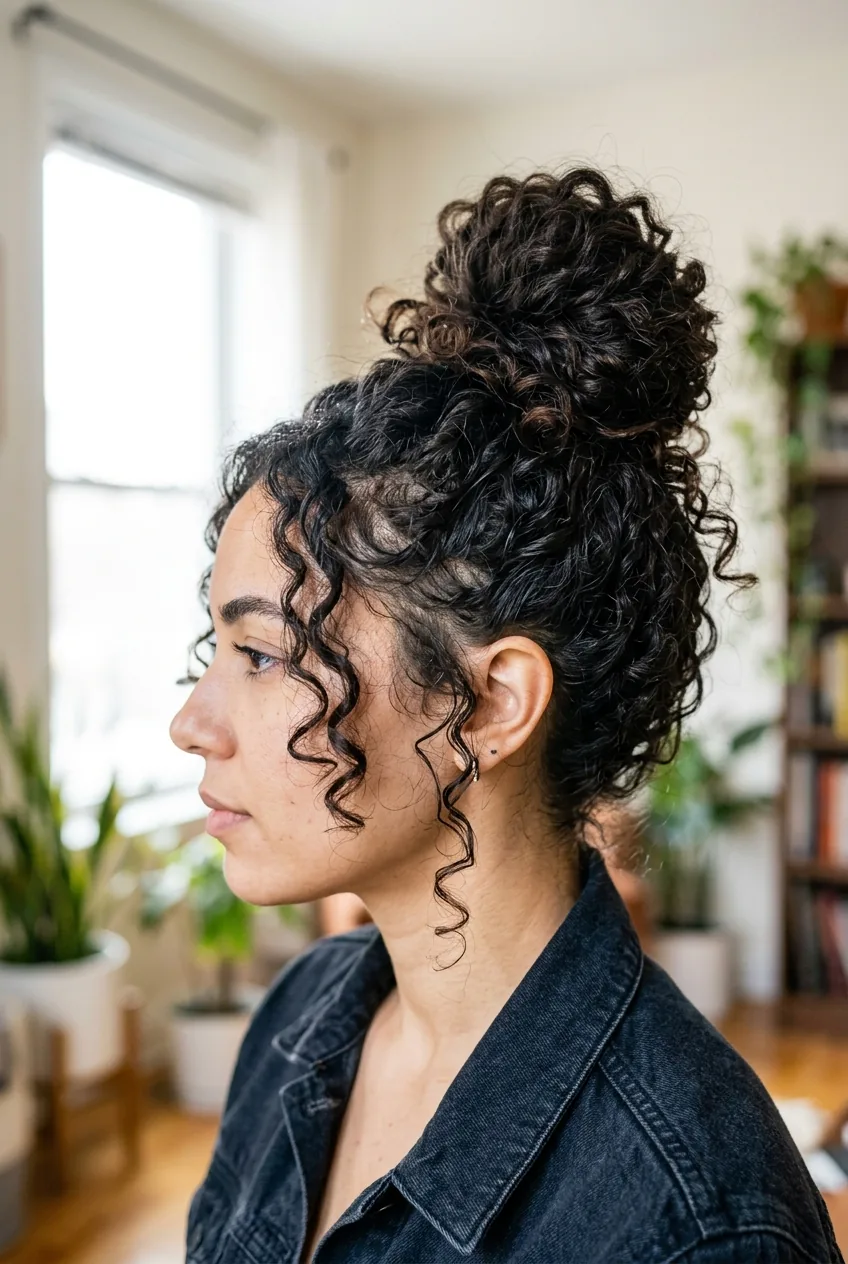
Step 6: The Messy Top Knot
Don’t let the word “messy” fool you — this requires more technique than you’d think. I flip my head upside down and gather all my curls at the very top of my head with my hands, not a brush.
Secure with an elastic, but don’t pull the hair completely through on the final wrap. This creates that perfectly imperfect loop of curls on top.
The leftover length gets wrapped around the base and pinned strategically. Pull out a few face-framing pieces after everything’s secure — this softens the whole look.
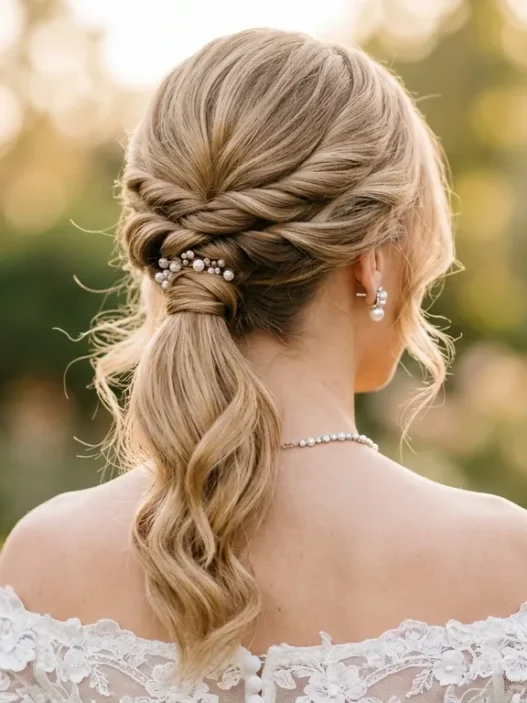
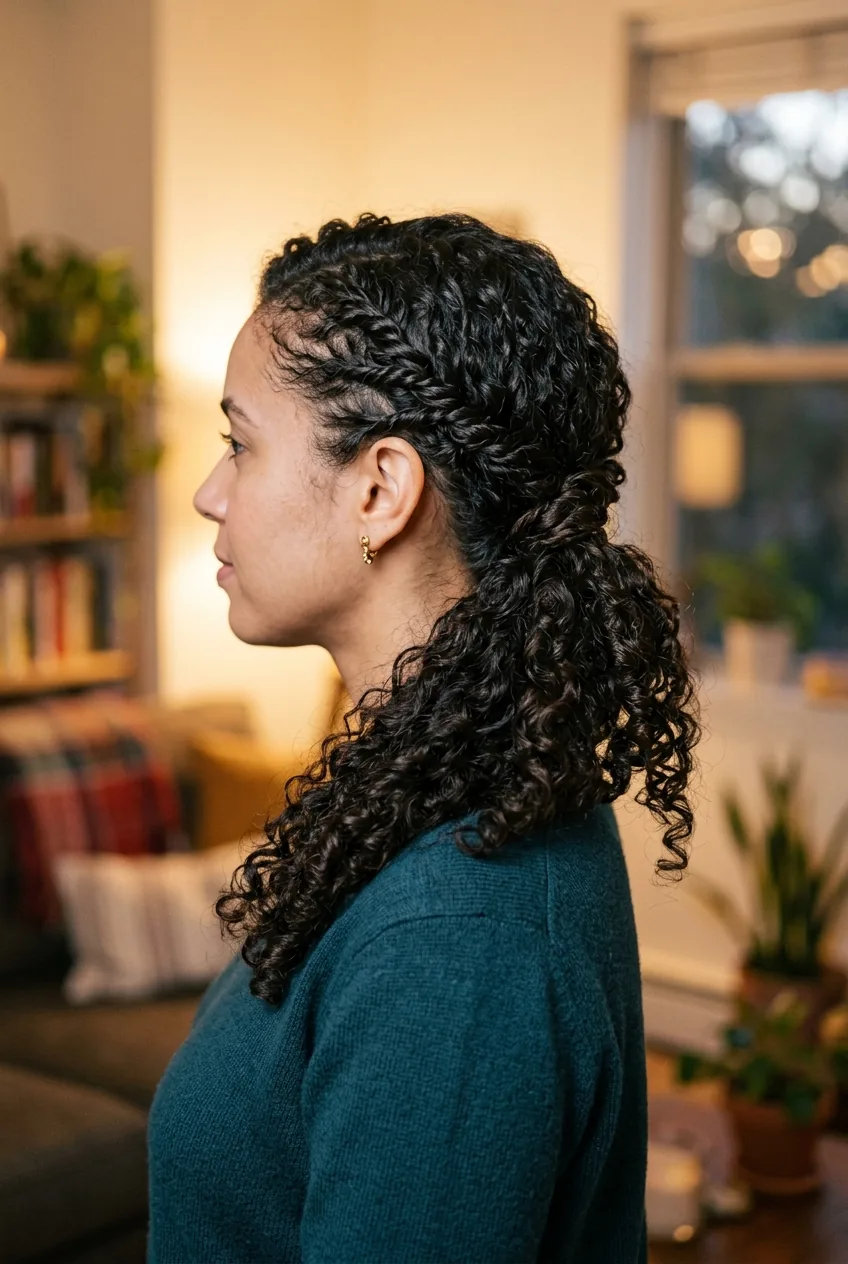
Step 7: Low Side Ponytail with Twists
This is my secret weapon for outdoor weddings where wind might be a factor. I create small twists on both sides of my head, starting from my temples and working back.
These twists all converge into a low side ponytail, positioned just behind one ear. The combination keeps everything secure while still looking effortlessly romantic.
I love how this style photographs from every angle. And if you’re attending something like a prom with similar styling needs, this technique works beautifully there too.
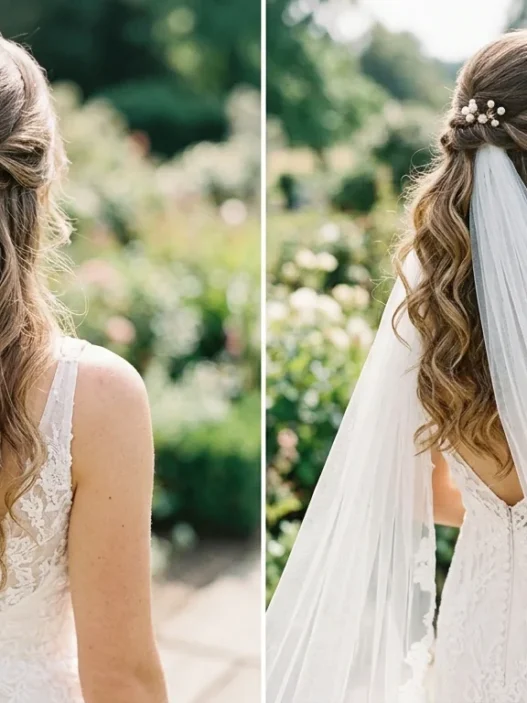
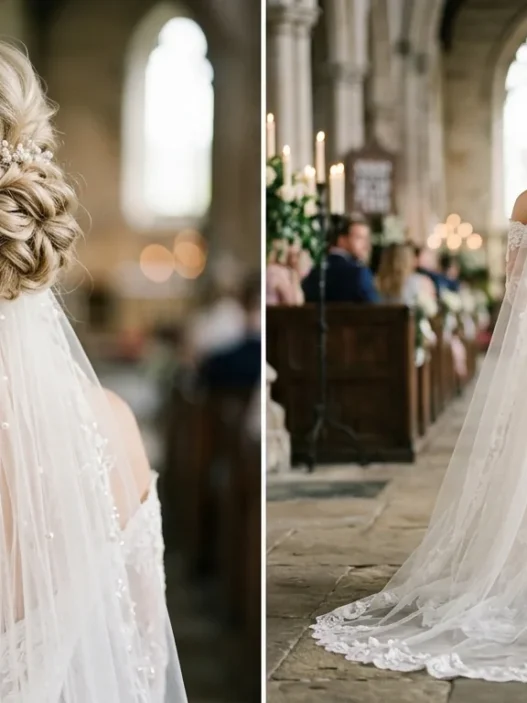
Step 8: Voluminous Pinned-Back Style
Sometimes you want the drama of big, gorgeous curls without the fuss of a complex updo. This style is all about creating height and volume at the crown, then pinning back the sides strategically.
I tease the crown section gently (yes, even curly hair benefits from a little backcombing), then smooth the top layer over it. The sides get twisted back and pinned behind my ears, leaving all that beautiful curl volume flowing down my back.
This works especially well if you have shoulder-length curls or longer. The proportions just look more balanced with some length to work with.
Questions I Get About Wedding Guest Curly Updos
How far in advance should I practice these styles?
At least a week before the wedding, ideally two. Your first attempt will take forever and probably fall apart. By the third try, you’ll have the muscle memory down and know exactly how many bobby pins you need.
What if my curls are different textures throughout my head?
Join the club! I have loose waves in front and tight corkscrews in back. The key is working with each section according to its natural pattern. Looser sections might need more product, tighter curls might need extra moisture.
Can I sleep in any of these styles?
Honestly, no. These are meant to be fresh day-of styles. If you’re doing your hair the night before, stick to something simpler that you can refresh in the morning with a spray bottle and some scrunching.
How do I prevent frizz in humidity?
Pre-treat with a humidity-blocking serum before you start styling. Once your updo is complete, hit it with a strong-hold hairspray from at least 8 inches away. The key is creating a barrier before the moisture hits your hair.
What’s the biggest mistake people make with curly updos?
Fighting their natural texture instead of working with it. I see people brushing out their curls trying to make them “neat,” which just creates a frizzy mess. Embrace the texture — that’s what makes these styles look effortless and romantic.
After trying all of these styles for different occasions, I can honestly say my hair confidence at weddings has completely transformed. No more bathroom touch-ups every hour or strategic photo angles to hide the back of my head. These curly updos for wedding guest events actually work — and they photograph beautifully too. Now I’m the one other people ask for hair advice at receptions.