


I used to be that girl whose updo would start sliding down by the second course at dinner. You know the feeling — constantly checking mirrors, sneakily pushing bobby pins back in, trying to look elegant while your hair had other plans. After one particularly disastrous wedding where my supposedly “professional” updo lasted exactly forty-seven minutes, I decided enough was enough.
That’s when I developed this method. It’s not about having perfect hair or magical fingers — it’s about understanding the actual mechanics of what keeps long hair up and what makes it fall down.
What You’ll Need for Success
Here’s what I always have within arm’s reach. No fancy tools — just the right ones:
- Strong elastic hair ties (at least 3)
- Bobby pins in your hair color (minimum 15 — seriously)
- A rattail comb for clean sections
- Hair spray with strong hold
- Small hair clips for temporary holding
- A paddle brush
- Texturizing spray or dry shampoo
The texturizing spray is my secret weapon. Clean, slippery hair is your enemy when you’re trying to build an updo that lasts.
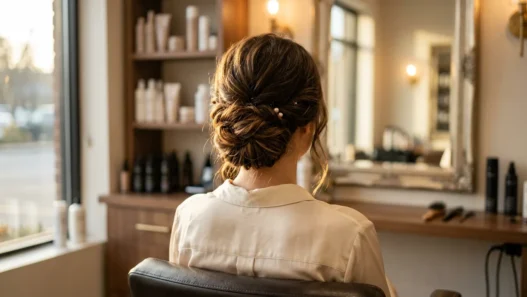
Step 1: Create the Perfect Foundation
Start with day-old hair if possible. If you just washed it, spray texturizing spray from mid-length to ends and scrunch it in. This gives your hair grip.
Brush your hair straight back from your face, smoothing any bumps. The key here is creating one clean line from your forehead to your crown — no little bumps or uneven sections. I used to skip this step and wonder why my updos looked messy from the front.
Spray the roots lightly with hairspray. Not soaking wet, just enough to add some texture and hold.
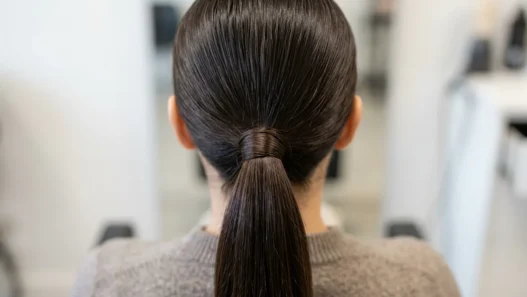
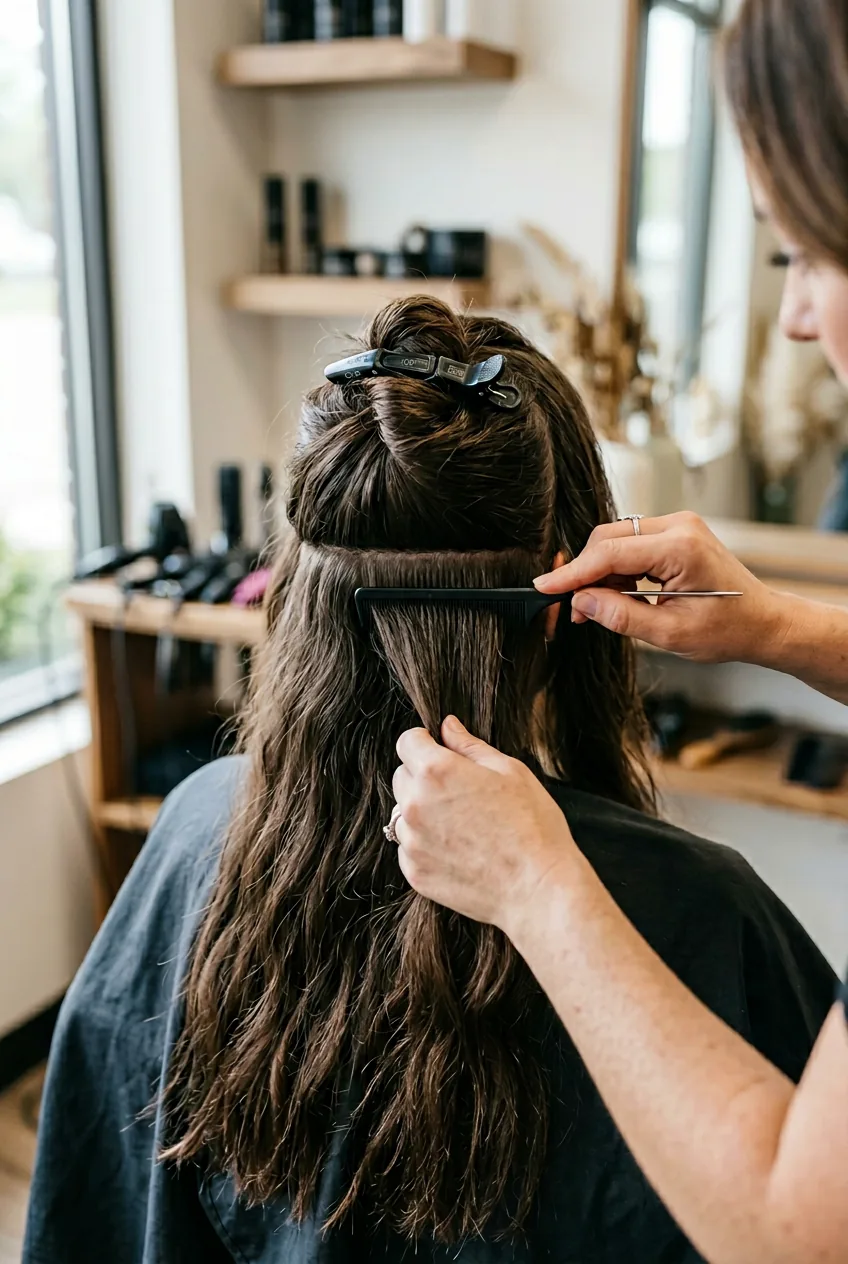
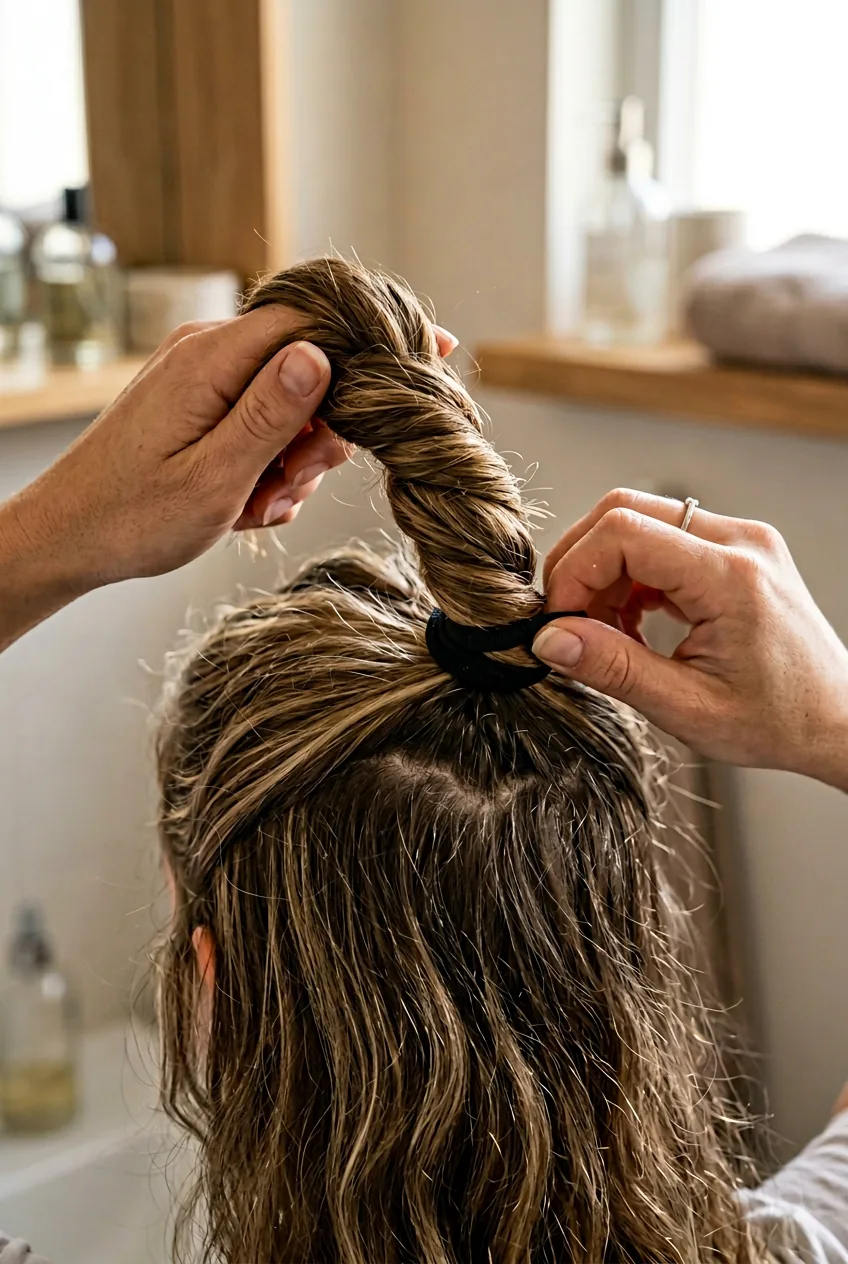
Step 2: Section and Build Your Base

This is where most people go wrong. They gather all their hair into one ponytail and wonder why it’s so heavy it pulls itself down.
Instead, create a horizontal part from ear to ear across the back of your head. Clip the top section out of the way. Take the bottom section and secure it in a low ponytail at the nape of your neck — not too tight, just secure.
Now here’s the magic: gently tug at the hair around your crown and temples to create some looseness. This prevents that pulled-back look and gives you volume where you need it.
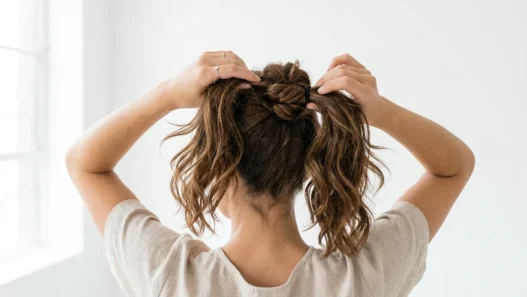
Step 3: Add Height and Volume
Release that top section. This is going to become your volume layer.
Brush it straight back and gather it about two inches above your first ponytail. But don’t secure it yet! First, gently push the hair forward to create a subtle bump. I’m not talking about a dramatic pouf — just a gentle curve that adds height.
When you’re happy with the height, secure this second ponytail. Now you have two ponytails stacked vertically, and the top one creates natural volume.
Step 4: Secure the Main Structure
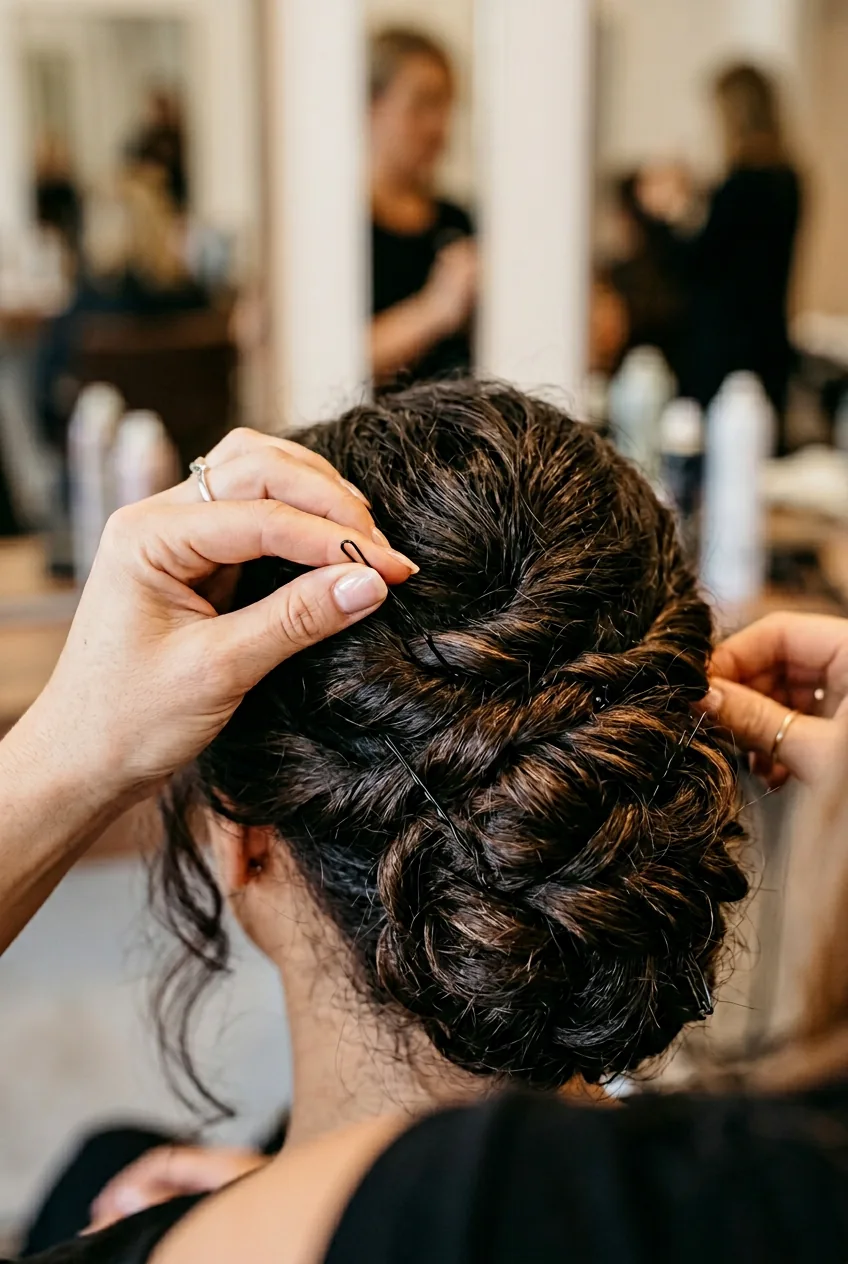
This step changed everything for me. Instead of trying to twist all that hair into one bun, you’re going to work with each ponytail separately.
Start with the lower ponytail. Twist it loosely — not tight like a rope, just enough to keep it together. Wrap it around its own base in a clockwise direction, creating a low bun. Pin it in place with bobby pins, pushing them in at an angle so they actually grip the hair.
Now take the upper ponytail. Twist it the same way, but wrap it around both its own base AND the lower bun. This creates layers and makes the whole structure much more stable.
I used to try cramming all my bobby pins straight down into the bun. They’d just slide right out. The trick is angling them so they catch hair that’s going in the opposite direction — like creating little anchors.
Step 5: Wrap and Tuck Loose Ends
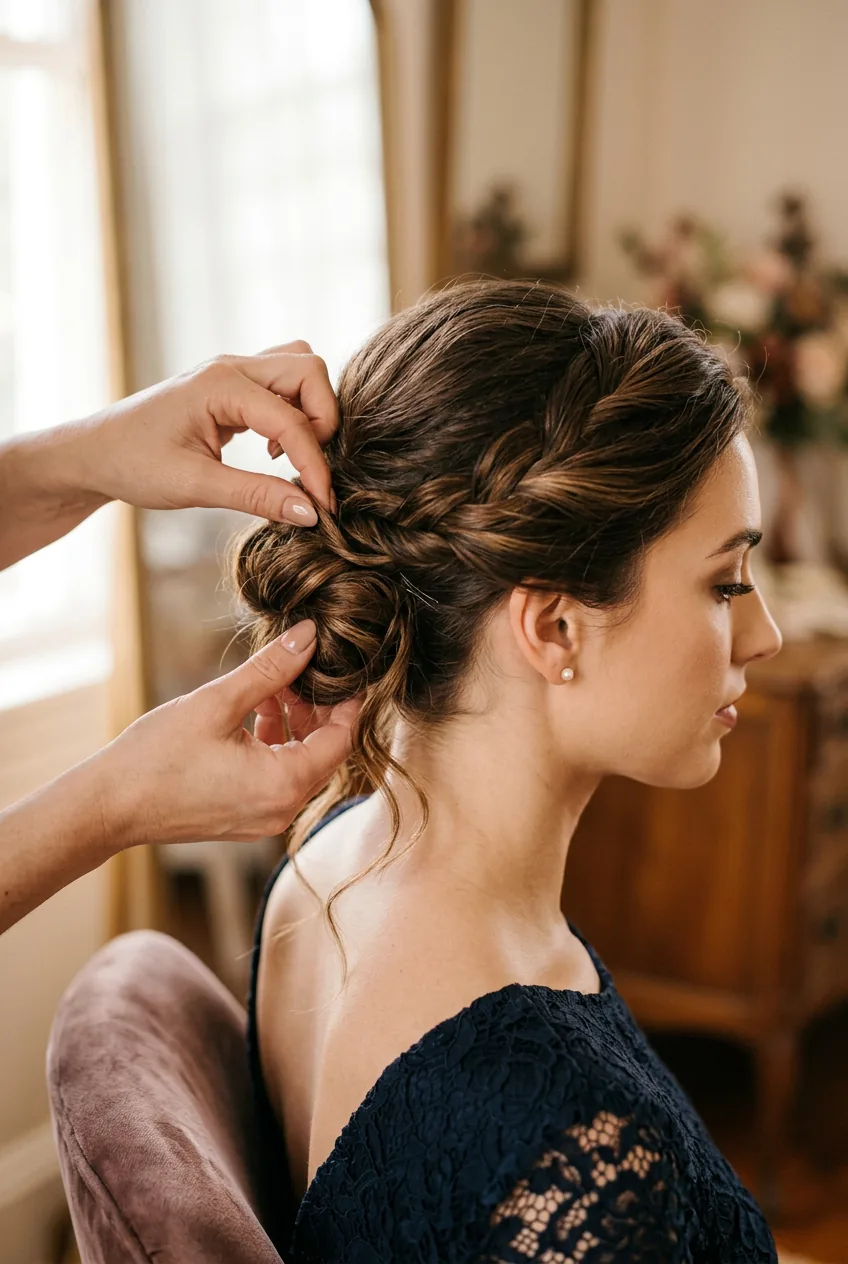
Now you’ll have some loose ends and pieces that didn’t quite make it into the bun. Don’t panic — this is normal.
Take each loose piece and wrap it gently around the base of your updo. The goal isn’t to hide every single hair — a few soft pieces actually look more elegant than something too perfect.
Tuck the ends under the bun and secure with bobby pins. If you have really long hair, you might need to wrap some pieces twice before tucking them under.
Step back and look at the overall shape. You want something that looks intentional, not like you just piled your hair on top of your head.
Step 6: Lock Everything in Place
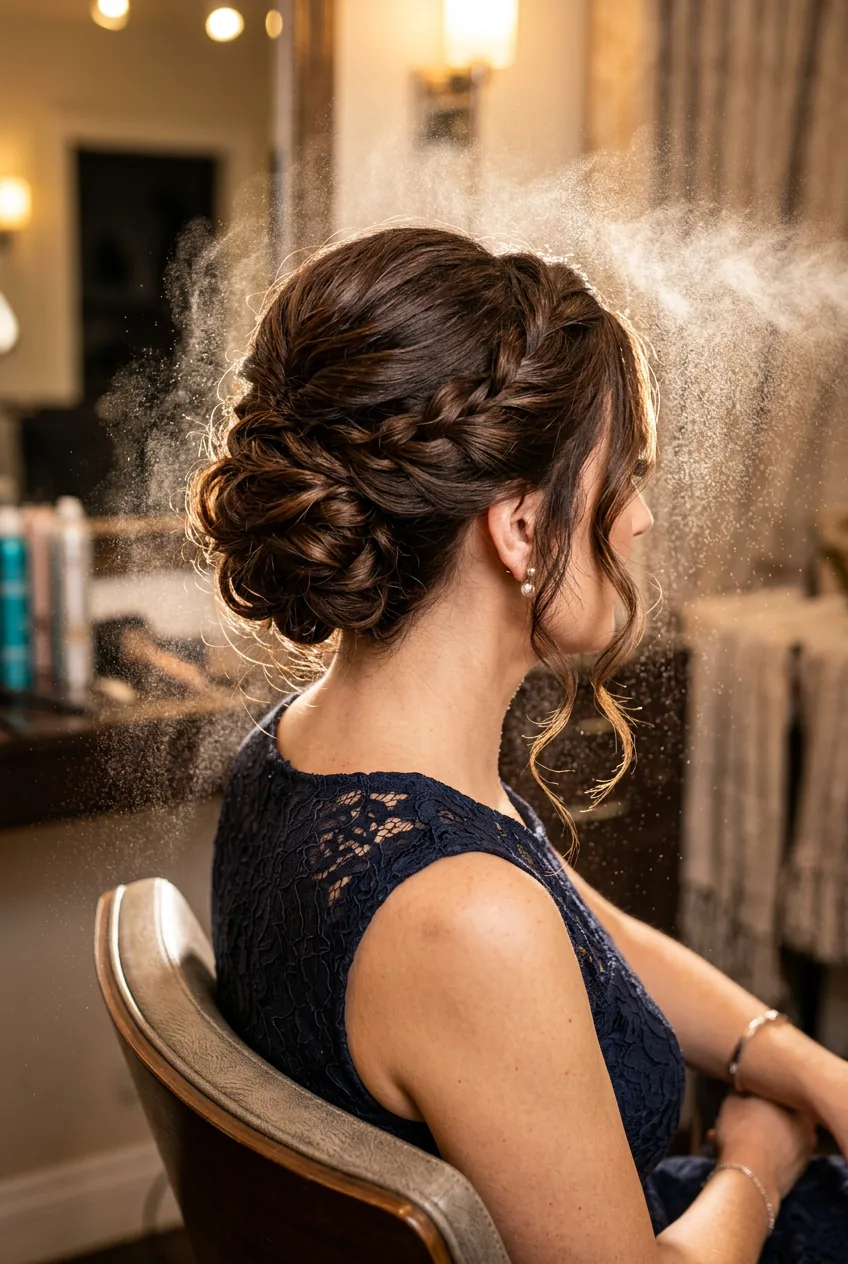
This final step is what separates updos that last from ones that don’t.
Spray your entire updo with hairspray, holding the bottle about 8 inches away. Don’t drench it — just a good even coating.
Now here’s my finishing touch: gently pull a few face-framing pieces loose. Not chunks, just wispy little pieces that soften the whole look. Curl these lightly with your finger or leave them straight if that’s more your style.
Do a final bobby pin check. Push in any pins that are sticking out and add extras anywhere that feels loose.
Questions I Get About This Method
Will this work on fine hair?
Absolutely. The texturizing spray is even more important for fine hair — it gives your strands something to grip onto. You might need a few extra bobby pins, but the double-ponytail method actually works better on fine hair than trying to manipulate one huge section.
How long should this take?
Once you get the hang of it, about 10 minutes. Your first few attempts might take longer, but don’t rush the sectioning — that’s what makes the difference between a professional-looking result and something that screams “I did this in my car.”
What if I have layers?
Layers actually help! They create natural texture and movement in the updo. You’ll just have more pieces to tuck and wrap in step 5, but that often looks more elegant than a perfectly smooth bun anyway.
Can I sleep in this?
I wouldn’t recommend it for comfort, but it will hold up if you need it to. I’ve worn this method through 12-hour wedding days and it stayed put beautifully.
I tested this method on myself for months before I was confident enough to recommend it. The result? Balayage ombre hair or solid colors — it works on everything. My hair stays exactly where I put it, the height doesn’t flatten, and I actually get compliments from strangers. That last part still surprises me, honestly.